Understanding the Importance of Automotive and Recreational Vehicle Sealants and Polishing
Maintaining the pristine appearance and structural integrity of your motorhome or recreational vehicle is essential, especially considering the exposure to diverse weather conditions and environmental elements. Among the numerous maintenance tasks, applying high-quality Wohnmobil Politursiegelung stands out as a crucial step to ensure long-lasting protection and a glossy finish. In this comprehensive guide, we delve into the essentials of RV sealants and polishes, key steps for optimal application, and expert insights to help you achieve that showroom-quality shine and durability.
What Is a Motorhome Sealant and Why Is It Vital?
A sealant for your motorhome or camper is a protective coating designed to shield surfaces from moisture, dirt, UV radiation, and other damaging factors. Unlike regular waxes or polishes, sealants form a chemical bond with the vehicle’s exterior, creating a durable barrier that is both water-repellent and resistant to environmental pollutants. This not only helps maintain the vehicle’s aesthetic appeal but also preserves its structural integrity by preventing corrosion, especially in GFK (fiberglass), painted, or plastic surfaces.
Implementing a superior wohnmobil politursiegelung enhances the vehicle’s resistance to water spots, black streaks, and paint fading—all common issues encountered by RV owners. Proper sealing extends the interval between detailed restorations, saving time and money while ensuring your vehicle remains in top condition for years to come.
Benefits of High-Quality Sealants and Polishes for Your RV
- Enhanced Durability: High-grade sealants can provide up to five years of protection, depending on application and maintenance.
- Outstanding Water Repellency: Prevents water ingress, reduces water spots, and minimizes the formation of black streaks.
- UV Protection: Shields paintwork and decals from sun damage, slowing down oxidation and fading.
- Ease of Cleaning: Surfaces treated with quality sealants are less likely to accumulate dirt, simplifying regular cleaning routines.
- Restored Shine: Polishing prior to sealing brightens faded surfaces, restoring a mirror-like finish and adding depth to colors.
According to industry experts, the most successful preservation techniques combine thorough polishing with high-performance sealants, such as Power Sealer. This approach dramatically enhances the aesthetic appeal and longevity of your RV’s exterior surfaces.
Materials and Products Needed for Professional-Level Sealant and Polishing
Achieving professional results requires carefully selected materials and tools. Key products include:
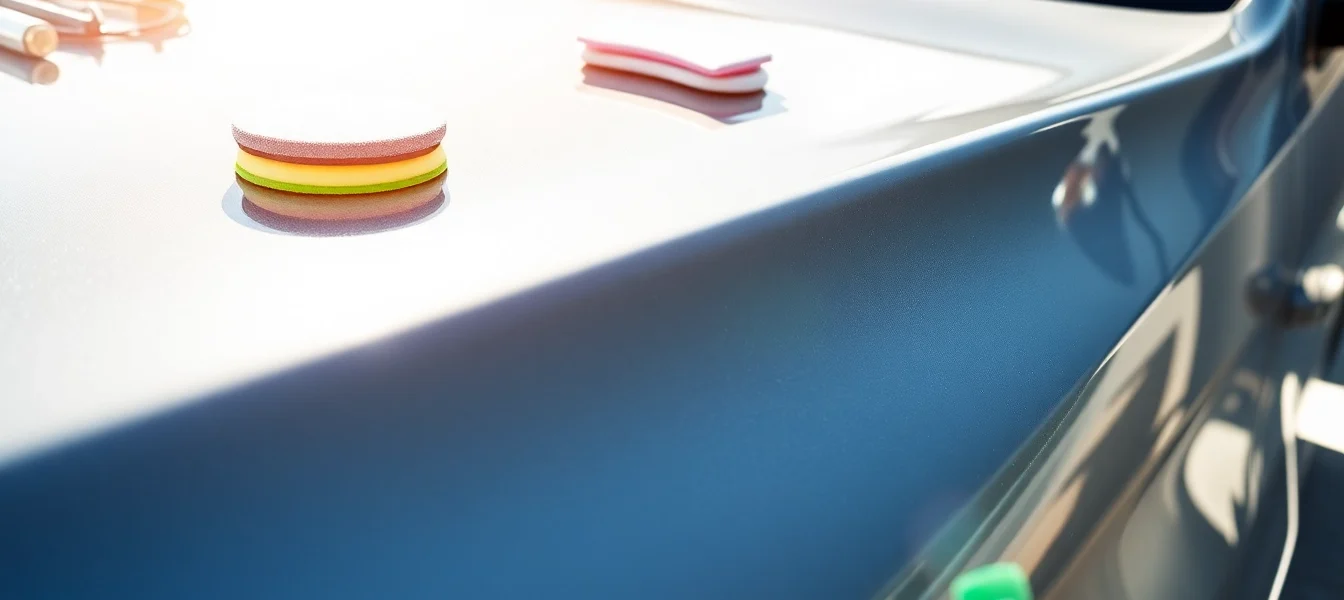
- Polishing compounds: Aggressive and fine polishes like Power Polish for initial correction and surface smoothing.
- Polishing pads and applicators: Waffelpads, soft foam, and microfiber applicators ensure even distribution and finish.
- Sealing agents: Sealants like Power Sealer offer long-lasting protection when applied correctly.
- Cleaning and preparation: Heavy-duty RV cleaners such as Power Cleaner remove dirt, grease, and previous residues effectively.
- Accessory tools: Microfibre towels, washing brushes (like All Stars Plus Waschbürste), and water guns enhance cleaning and application precision.
Additionally, investing in quality equipment like foam guns (e.g., Snow Foam Gun) and adjustable water brushes streamlines the process and improves results significantly.
Step-by-Step Guide to Applying Marine-Grade Sealant and Polish
Preparation and Initial Cleaning
Begin by thoroughly cleaning the vehicle, ideally using products tailored for RV and boat maintenance such as BCC Power Cleaner. Utilize high-quality washing tools like the All Stars Plus Waschbürste with water connection to reach every corner. Rinse off loose dirt and debris, then dry completely using microfiber towels like the BCC Microfaser Towel. Proper cleaning eliminates contaminants that could impair adhesion.
Polishing for a Flawless Finish
Next, evaluate the surface for scratches or oxidation marks. Use a dual-action polishing approach: first, light abrasives like BCC Power Polish to smooth out imperfections, followed by finer polishes to enhance gloss. Employ foam applicators like the BCC Polierpuck extra weich for even application. For stubborn swirl marks, a soft waffelpad (wafelpad) combined with a medium polishing sponge ensures a high-gloss finish.
Applying the Sealant for Long-Term Protection
After polishing, remove any residue with microfibre towels. Follow this with a thin, even coat of Power Sealer. Use a microfiber applicator for consistency, making sure to work in small sections. For large surfaces, a foam gun like the GLORIA FoamMaster FM 10 allows quick, even distribution of the sealant. Allow the coating to cure as per manufacturer instructions—typically 10–15 minutes—then buff with a clean microfiber towel for a shiny, protective layer.
Expert Tips & Common Challenges in RV Sealant Application
Preventing Common Mistakes
- Falling short on preparation: Always clean and dry thoroughly before applying any product.
- Applying in unsuitable weather: Work in shade and avoid high humidity or direct sunlight.
- Inadequate curing time: Follow product-specific instructions for curing, ensuring maximum durability.
DIY vs. Professional Sealant Application
While DIY efforts can yield impressive results with precision products and proper technique, complex surfaces or extensive damage might benefit from professional services. Experts leverage advanced tools and experience to achieve a flawlessly sealed and polished surface with longer-lasting results.
Maintenance Tips for Longevity
Post-application, regular washing with gentle RV-specific products keeps the surface free from contaminants. Reapplying sealant every 2–3 years, depending on exposure, preserves the protective barrier and enhances visual appeal.
Comparing Top-Rated RV Sealant Products on the Market
Highlighting Leading Products for Wohnmobil Politursiegelung
Among available options, products like Power Sealer offer robust protection with excellent hydrophobic properties, while brands such as SONAX provide trusted formulations with extended durability. When choosing a product, consider the surface material, ease of application, and expected longevity.
Technical Features & Durability
Product specifications vary; typically, ceramic-based sealants provide the longest protection—often up to 5 years—while polymer-based options may last 1–2 years but are easier to apply. A good rule of thumb is to select a product aligned with your maintenance commitment and vehicle usage conditions.
Value for Investment and Recommendations
Although premium products may have a higher initial cost, their superior performance and longer lifespan often justify the expenditure. For practical and high-value options, combining a trusted sealant like Power Sealer with thorough polishing maximizes results without breaking the bank.
Maintaining Your RV’s Shine & Protection for the Long Term
Routine Maintenance & Cleaning Schedule
Establish a regular washing routine, ideally every 4–6 weeks, using pH-neutral RV cleaners. Gentle tools like microfiber towels and soft brushes prevent scratches or damage to the sealant layer. Incorporate quick detailing sprays and microfibre cloths to keep surfaces glossy between washes.
Periodic Re-sealing and Re-polishing
Every 2–3 years, or sooner if signs of wear appear, reapply sealants to maintain optimal protection. Prior to resealing, lightly polish to remove any embedded contaminants, ensuring the new layer bonds effectively. Professional inspections can also identify areas needing special attention.
Best Practices for Protecting Your Investment
Store your RV in a covered area or use high-quality covers during long-term storage. Integrate ceramic coatings if applicable for added durability, especially in harsh climates. Regularly inspecting seams, windows, and seals prevents water ingress, preserving the structural framework.